Pinterest Food Hacks That Actually WORK

Does it look like I'm going to smoosh this in your face?
Does it look like I’m going to smoosh this in your face?

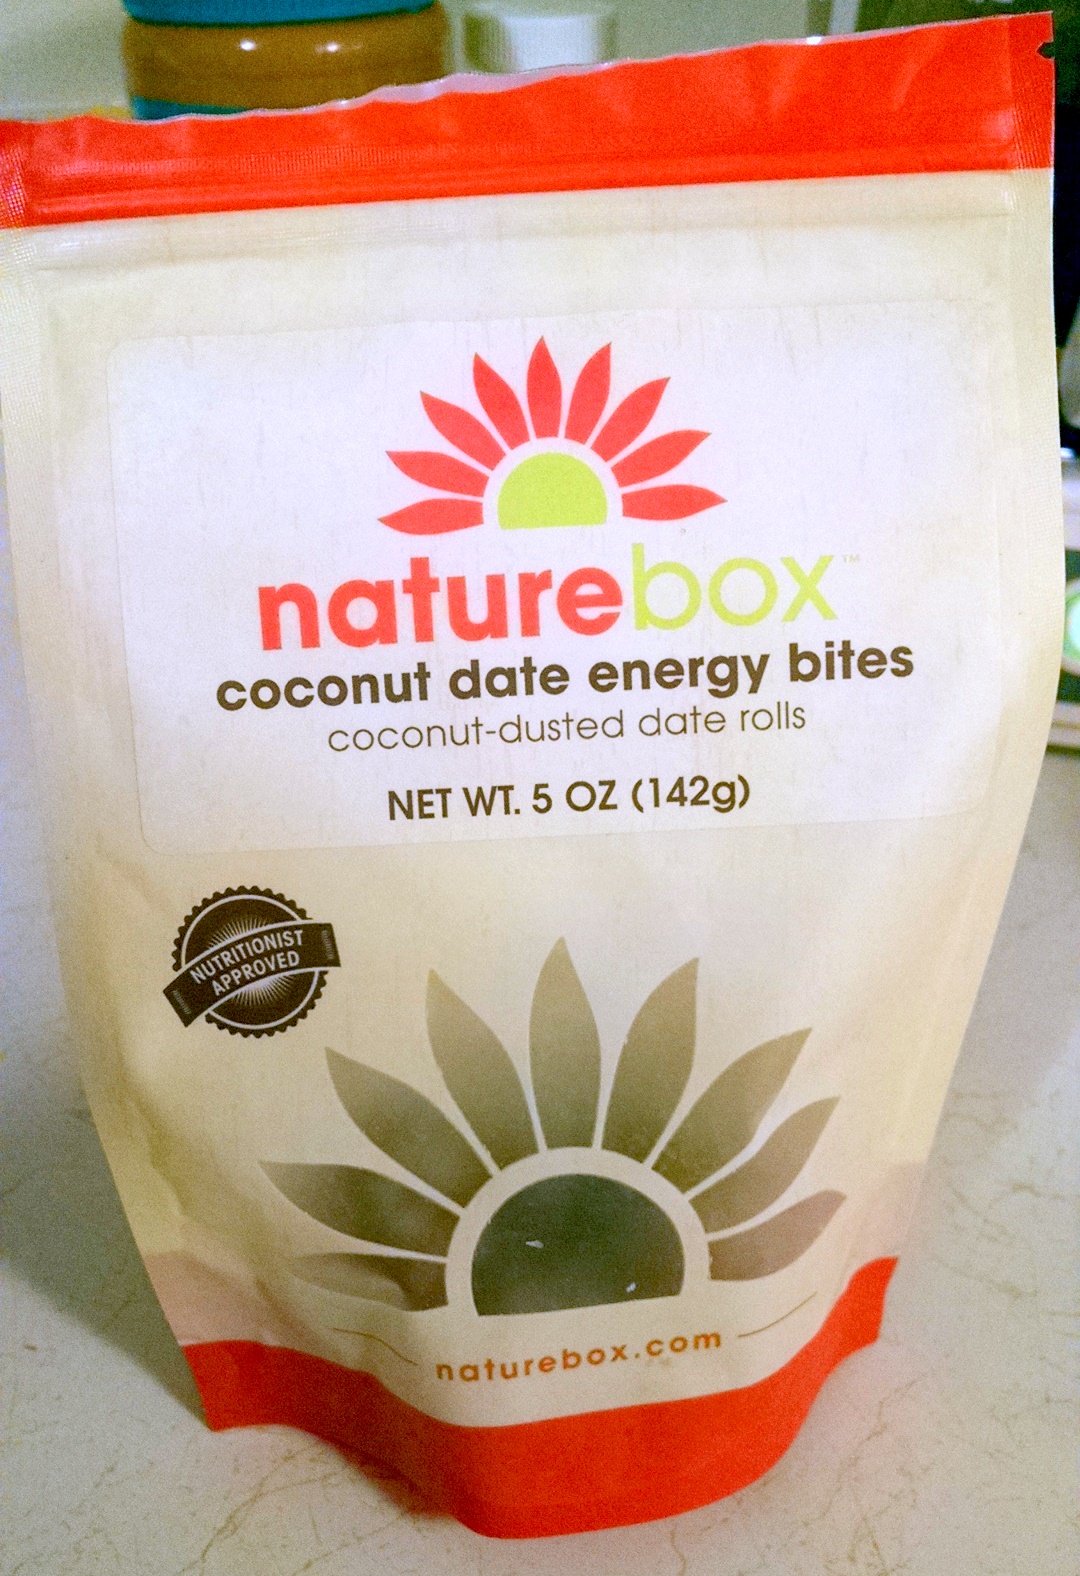
Pinterest and I have a love hate relationship. There are days when I can spend HOURS pinning things I’ll never try. Then I’ll go weeks without touching the thing. But in creating boards for A Measured Life, I found a few super neat kitchen tricks I just had to try for myself (and for you, of course, dear readers). Here are the ones that worked:

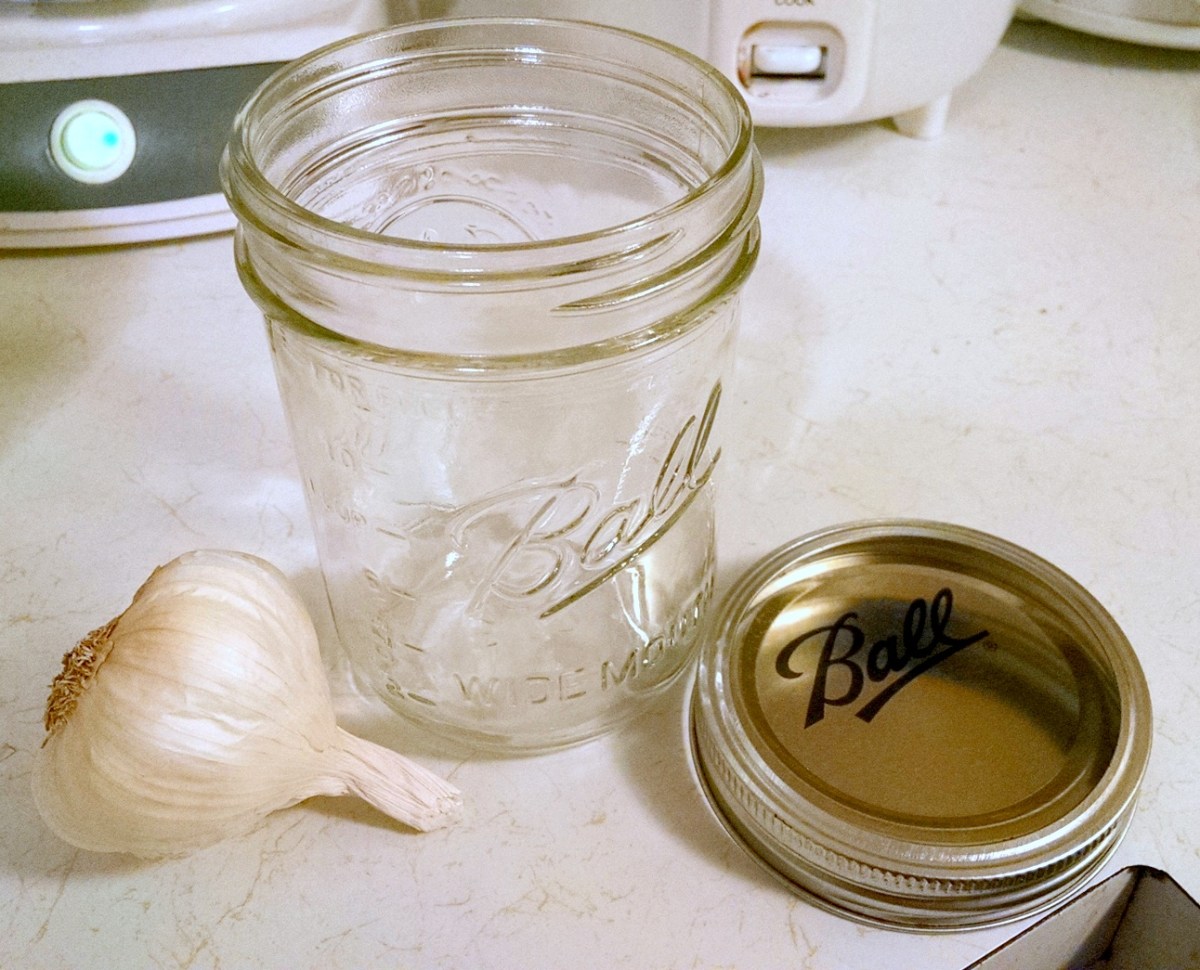
The Garlic Peeling Trick

This slideshow requires JavaScript.

Dude. I was so freaking surprised this actually worked. It was amaze. I used a Mason jar for mine, because that’s what I had. I stuck the entire head of garlic in the jar, unadulterated, screwed on the lid, and shook vigorously. The first shaking broke up the head into separate cloves, but they were still covered in their papery skin. So I poured out the contents of the jar, separated the cloves from the “chaff”, and stuck the cloves back in. Again, I shook vigorously, for maybe 15 seconds. Poured out the contents again. Half the cloves were peeled! So I separated those out, and returned the remaining cloves to the jar for an additional shake. Yes, okay, there were a few cloves I had to peel by hand, but only a few, and the skins were looser so it was easy to do. Total elapsed time? Less than 2 minutes. No joke. This WORKS! I planned on using a lot of garlic this week so I just stuck the peeled cloves back into the jar and stored them in the fridge until I needed them. Bonus: no garlicky fingers!

The Speed-Caramelizing Onions Trick

http://paleotable.com/2012/11/caramelized-onions/
Image courtesy of http://paleotable.com

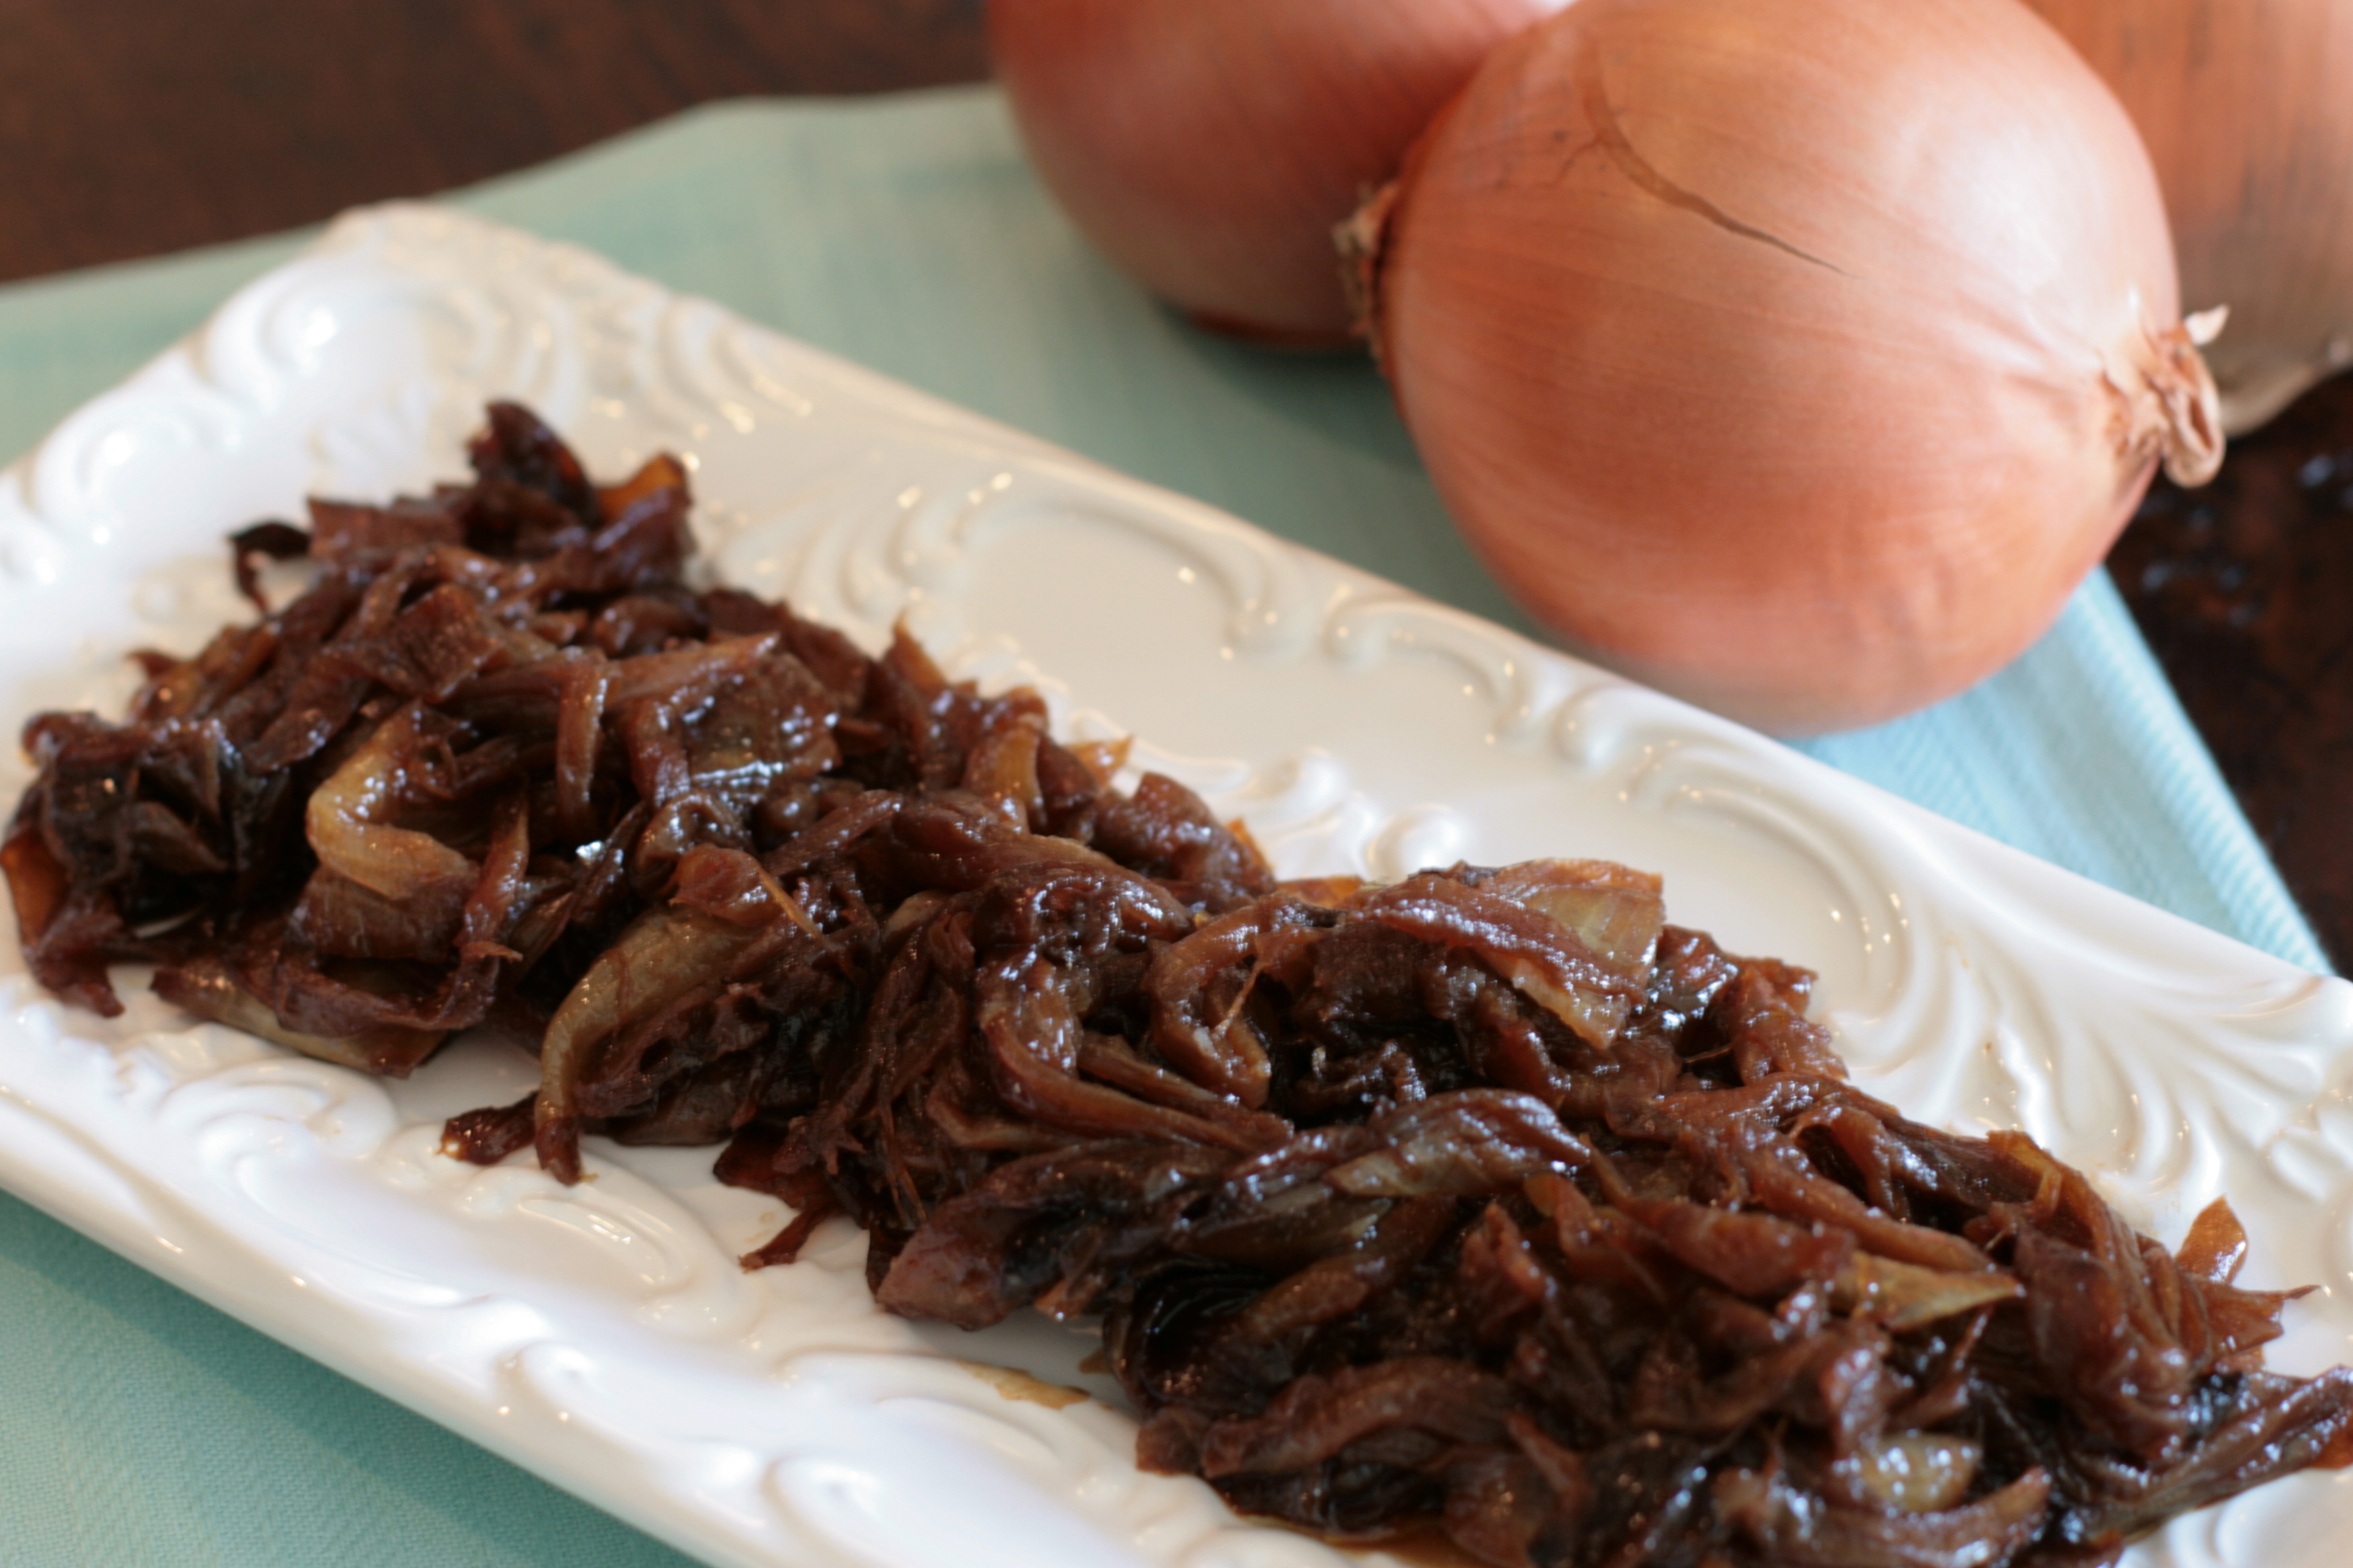
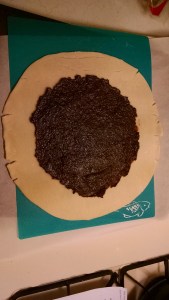
I am so impatient. Seriously. Recipes that require standing over the stove for 30 minutes or more stirring? SCREW THAT! Steel cut oats? Pshaw! (I solved the stirring problem by making it in the oven.) Risotto? Never! (Uhm, made Farro Risotto a few weeks ago. I am a liar.) Polenta? Instant! (Also a lie, I do make regular polenta but I hardly ever cook it as long as recommended, because reasons.) They SAY you can make caramelized onions in a slow cooker but if it burns while I’m at work I do not want to have to try to scrape burned onions out of the crock. So what’s a girl to do? Apparently, use baking soda! I caramelized an entire large onion in 1 tablespoon of olive oil in less than 10 minutes by using a pinch of baking soda. Now I didn’t measure the baking soda, but next time I’ll use less, because my onions kind of disintegrated, but they were totally CARAMELIZED. Like, dark, delicious brown goodness with that almost-burnt sugar smell. I was using them in a prune spread for a galette, so it was fine they were basically paste, but holy crud did it work!

The Pomegranate Seeding Trick

This slideshow requires JavaScript.

I love pomegranate seeds, and I found this delicious sounding recipe for a quinoa bowl with spiced sweet potatoes, cranberry sauce and pomegranate seeds, so I bought a freaking pomegranate. I toyed briefly with the idea of making my husband seed the pomegranate for me before I got home from work, but I figured I would check Pinterest first, since I knew I was writing this post. Basically, you cut the pomegranate in half, hold it in your hand cut side down with your fingers spread so the seeds fall through your fingers, and whack it super hard with a spatula. I’ll admit, I was skeptical. IT WORKED. Exactly like the tutorial. Yeah there were a few seeds left at the end, but seriously? It took me maybe 3 minutes or so. And it was mostly mess free, although you can see I put down paper towels as protection, and I absolutely took off my white sweater before even attempting this.

So not one, not two, but THREE tricks I learned on Pinterest to save time and effort! Have you discovered any tips or tricks on Pinterest?

Want to see it on my board?
Follow A Measured Life’s board Food Hacks That WORK (Tested by Me) on Pinterest.

The Common Cold: A Royal Pain In My Butt

Okay, so, I’m not actually THAT sick. I started sneezing Saturday night, and I did something I almost always do when I feel a cold coming on: I popped 3 ibuprofen and 2 benadryl, drank a big mug of hot tea and went to BED. The benadryl helped me sleep, but I still woke up with a sore throat and a pretty stuffy nose. I skipped coffee for two reasons: one, tea always feels better on my throat, and two, I was out of coconut milk. Now, Sundays are grocery days for me, but we’d had a huge storm, and it was below freezing outside, so I wasn’t even sure I was going to go grocery shopping.

IMG_20150214_210656131
Forgive me, New Englanders, most of this was gone by morning.

So I spent most of the morning on the couch, watching bad television and browsing the internet, drinking Black Dragon Pearl tea from Adagio.com. The Hubs decided he would share his magical Canadian elixir, Buckleys! My mother-in-law brought us a bottle when she came for Thanksgiving. Proof it’s magic: The Hubs was taking it when he found out he had pneumonia a few years back, and our doc took one look at the ingredients list and told him to continue taking it along with his antibiotics. Ha! So around 7 I took a dose of it. And within 30 minutes I almost felt normal!

IMG_20150215_211309765_HDR
Sorcery! Wonderful sorcery!

So I thought I would write a few words about fending off common illnesses. Over the years, I’ve received a plethora of advice for the common cold: take vitamin c, take zinc, take hot showers, etc. I’ve tried them all, and to be honest, I’m not sure any of them work, but I know that drinking hot liquids (sans dairy products) makes me feel better and helps ease congestion. Clear broths, hot tea, even warm water with honey and lemon can help. Studies have even proven that chicken soup helps even more than other hot liquids. Rest and keeping warm are a few others.

For nausea and motion sickness, what works the best is ginger tea. You can buy ginger tea in regular tea bags, or if you have fresh ginger at home, just throw a couple of slices into boiling water and let steep. Even the MythBusters concluded that a ginger pill was the only thing that prevented motion sickness without any side effects!

I’m sure most people know that aloe is a great way to soothe a burn. It’s an anti-inflammatory and the gel-like texture protects those sensitive nerve endings from exposure to the air, which can cause them to throb.

To soothe aches, pains, stiff joints or menstrual cramps, make a homemade heating pad. I use an old athletic sock filled with rice. There’s a great tutorial here, but the only stipulation is that I never heat the sock more than 1 minute or else the rice starts to smell burned. Maybe I have a powerful microwave. Here’s mine, modeled by Bingley!

IMG_20150216_091613256_HDR

So what about you, dear readers? Any wonderful home remedies that you’ve found tried and true? Let me know in the comments!

Copycat Recipe: NatureBox Coconut Date Energy Bites

IMG_20150210_054607679For Christmas The Hubs and I were gifted a 2-month subscription to NatureBox (shout out to the Kornbaus!). Our first box had a few delicious things, most notably the Dark Chocolate Berry Trail Mix and Honeycomb Sunflower Kernels, as did our second box with Dark Cocoa Nom Noms (hard to eat just one of these) and my favorite: the Coconut Date Energy Bites. As always, I checked the nutritional information and took a bite. These pillowy, sweet nuggets of heaven were only 90 calories for 3 bites. The coconut flavor was subtle, the texture of the dates almost fluffy, and the flavor rich and…date-y? Either way, they are seriously good. I definitely felt hyper after eating them, but unsure if it’s a placebo effect, the rush of the natural sugar, or the euphoric high of their maximum deliciosity.

IMG_20150210_054621013_HDRI checked the ingredients list. Surely these things must be loaded with delicious things like the Dark Cocoa Nom Noms. I was wrong. TWO ingredients?! Dates and Coconut?! How novel!

I immediately said to myself, “Self,” said I, “Thou canst make these thine own self!” To which my self replied, “Totes!” (I may have lost my mind briefly.)

So on my next grocery shopping trip, I snagged a tub of pitted dates. I already had unsweetened coconut burning a hole in my cabinet from when I went a little psycho for Bob’s Red Mill 10-Grain Hot Cereal with coconut and Craisins in it. Before work yesterday I decided to try out this potentially simple snack recipe. Here are the results!

I'm terrified of this massive ingredients list.
I’m terrified of this massive ingredients list.

Tools:

  • Food Processor
  • 10 oz. Pitted Dates
  • 1/2 cup (30g) unsweetened coconut flakes

Recipe:

If you have large flaked coconut like I do, throw it into the food processor and pulse until you have finer flakes. Pour the coconut out onto a plate.

Don’t bother cleaning out the food processor bowl, just toss the dates in. Process until smooth. At this point I looked into the food processor and thought it looked super thick, so I added a tablespoon of water and processed some more. Maybe a total running time of a minute in the food processor.

I laid down some wax paper and scraped the date paste onto it. Then I grabbed a teaspoon measuring spoon.

NOTE: WET THE MEASURING SPOON. EVERY TIME. AND WET YOUR FINGERS.

Just trust me on this.

Scoop out a flattened teaspoon of date paste. Use your thumb or finger to scoop the paste out of the spoon and then use your fingers to roll into a little ball. Plop these babies down on the bed of coconut. When you can’t fit anymore on the plate, roll the balls around in the coconut to coat, and place them in the container the dates came in. Don’t worry, they’ll all fit. (If your dates came in a bag or some other unacceptable container, use a four cup plastic container.) Repeat until date paste is gone.

I managed to get 42 of these babies, which is 14 servings of 3 bites.

This slideshow requires JavaScript.

Nutritionally, I think they’re pretty close. If you do the math on my version, you’ll come out with 22 grams for 3 pieces, which is a little lighter than NatureBox, so the serving is slightly smaller. I made a chart so you can see the comparisons. There is a slight discrepancy, but I think it’s due mostly to the ratio of dates to coconut. I used more coconut than was in the original recipe, which is obvious when you look at the comparison photo of the two (you can also see the size difference here).

nut_compareBut HOW DO THEY TASTE?! This is what you came here for, isn’t it? Because, let’s face it, food isn’t worth eating if it isn’t delicious, am I right? (Just say “Totes, Andrea, totes!”)

Mine are even pillowier than the Naturebox version! My guess is due to the water and the processing method. The coconut flavor is stronger in mine as well. In the end, I like the texture of mine better, but the flavor is slightly better in the NatureBox version. I gave one of each for The Hubs to try and he said “Those are pretty damn close!” And we all know, close only counts in horseshoes, hand grenades and copycat recipes! (I may have taken some liberty with this quote.)

http://www.impowerable.com/protect-the-planet/make-it-yourself-simple-safe-and-cheap/Now, the cost wasn’t super important to me, but I figure a price comparison would be useful here. In a NatureBox subscription, you get 5 bags of snacks for $19.95 with free shipping. So each snack bag is $3.99. A bag of NatureBox Date Coconut Energy Bites is 5 oz. or approximately 142 grams and contains about 4.5 servings according to the package. That’s a cost of about $0.89 per serving. My recipe made 14 servings. I paid $3.79 for the dates and 2 servings of coconut flakes is approximately $0.41. So the total cost of my ingredients is $4.20, which makes mine about $0.30 a serving for 22 g, or if you use a 30 g portion for a direct comparison $0.41 a serving. Less than half the price! The entire process might have taken me 20 minutes, max. And considering you have to spend $19.95 for a NatureBox subscription, you pay even more.

In conclusion, this recipe is well worth making at home if you have the time!

Now excuse me while I go shove a bunch of these in my face.