Recipe: Strawberry Coconut Protein Bar

In case you hadn’t noticed, I spend quite a bit of time perusing Pinterest for recipes to try. I love trying new things, particularly healthy snacks, so when I came across Chocolate Chilli Mango’s Strawberry Ripe Protein Bars Recipe I knew I had to try it! Anything that tastes like chocolate covered strawberries has to be delicious right??? I bookmarked this recipe months ago, but never got around to making them, because I kept trying to find less expensive freeze-dried strawberries. Not exactly an inexpensive item! I finally bit the bullet and grabbed a couple of bags from Trader Joe’s. This is a simple, no-bake recipe that requires remarkably little effort for the result!

Strawberry Coconut Protein Bars

  • 2 bags Trader Joe’s Freeze Dried Strawberries (64 grams)
  • 2 scoops whey protein powder (I used Isopure Zero Carb Creamy Vanilla – 62 grams)
  • 4 tablespoons unsweetened coconut flakes (I used Bob’s Red Mill – 60 grams)
  • 1/2 teaspoon vanilla extract (I used a jar I had in my cabinet containing vodka and vanilla beans that’d been sitting there for a couple years)
  • 2 ounces unsweetened almond milk (I used Almond Breeze Unsweetened)
  • 5 servings dark chocolate chips (I used Ghirardelli 60% Chocolate Chips – 75 grams)

IMG_20150624_060521191_HDRIn a food processor, pulse the strawberries (watch that you don’t forget to remove the silica packs, that would be bad), coconut flakes and protein powder until almost a powder but still sort of chunky. Add in the vanilla extract and almond milk and pulse until it becomes sticky and pulls together.

Press the mixture into a pan lined with wax paper. As you can see I tried to put it in a much too large pan, so I moved it to a smaller glass dish that was about 5 inches by 8 inches. Press it in tight, wrap the wax paper around it and pop it into the fridge to firm up.

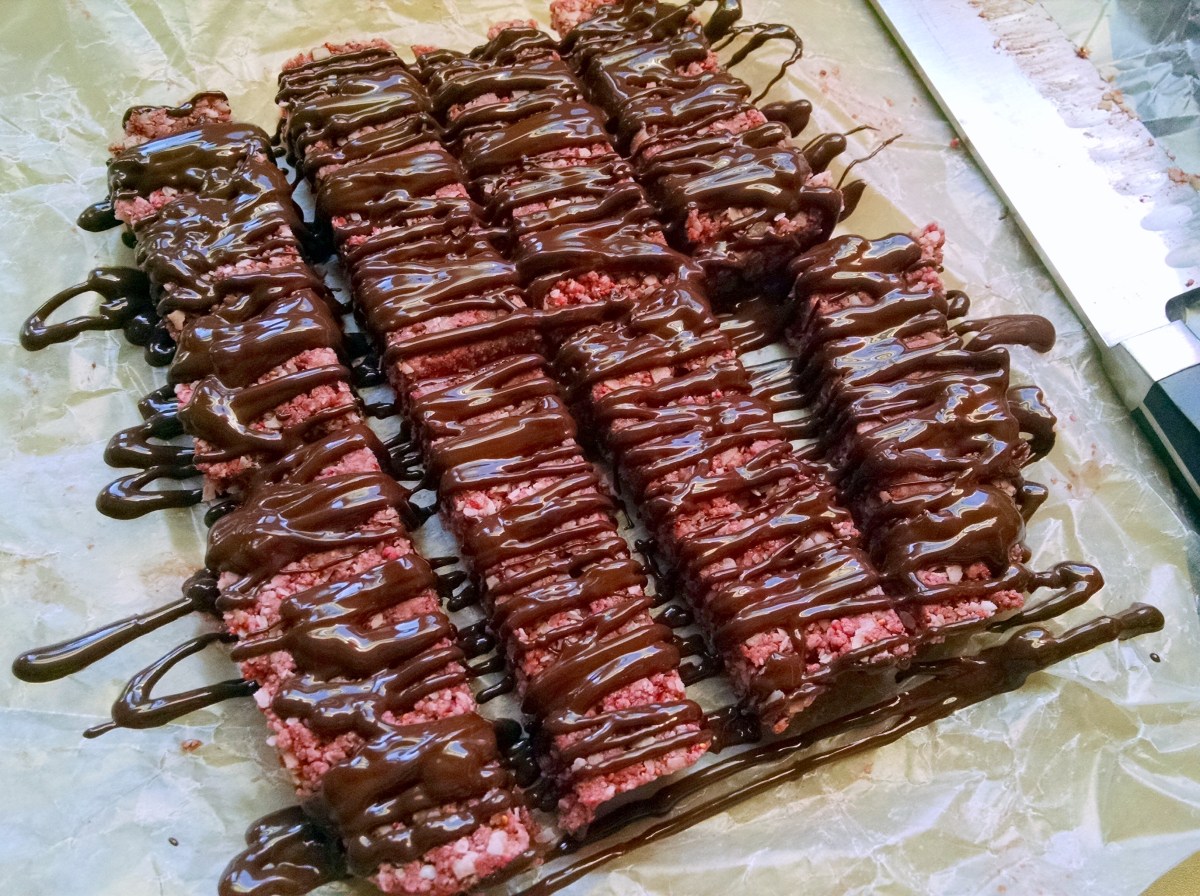
After an hour, remove the protein mixture from the fridge and cut into 8 bars. Melt the chocolate chips. I used the microwave in 30-second increments. I snipped a tiny corner off of a quart-sized storage bag and poured the chocolate inside. I then used the bag to drizzle the chocolate over the bars. I stuck them back into the fridge for 30 minutes to harden the chocolate before I stored them back in the fridge (but not before chowing down on one, of course).

The Verdict

IMG_20150624_085756908
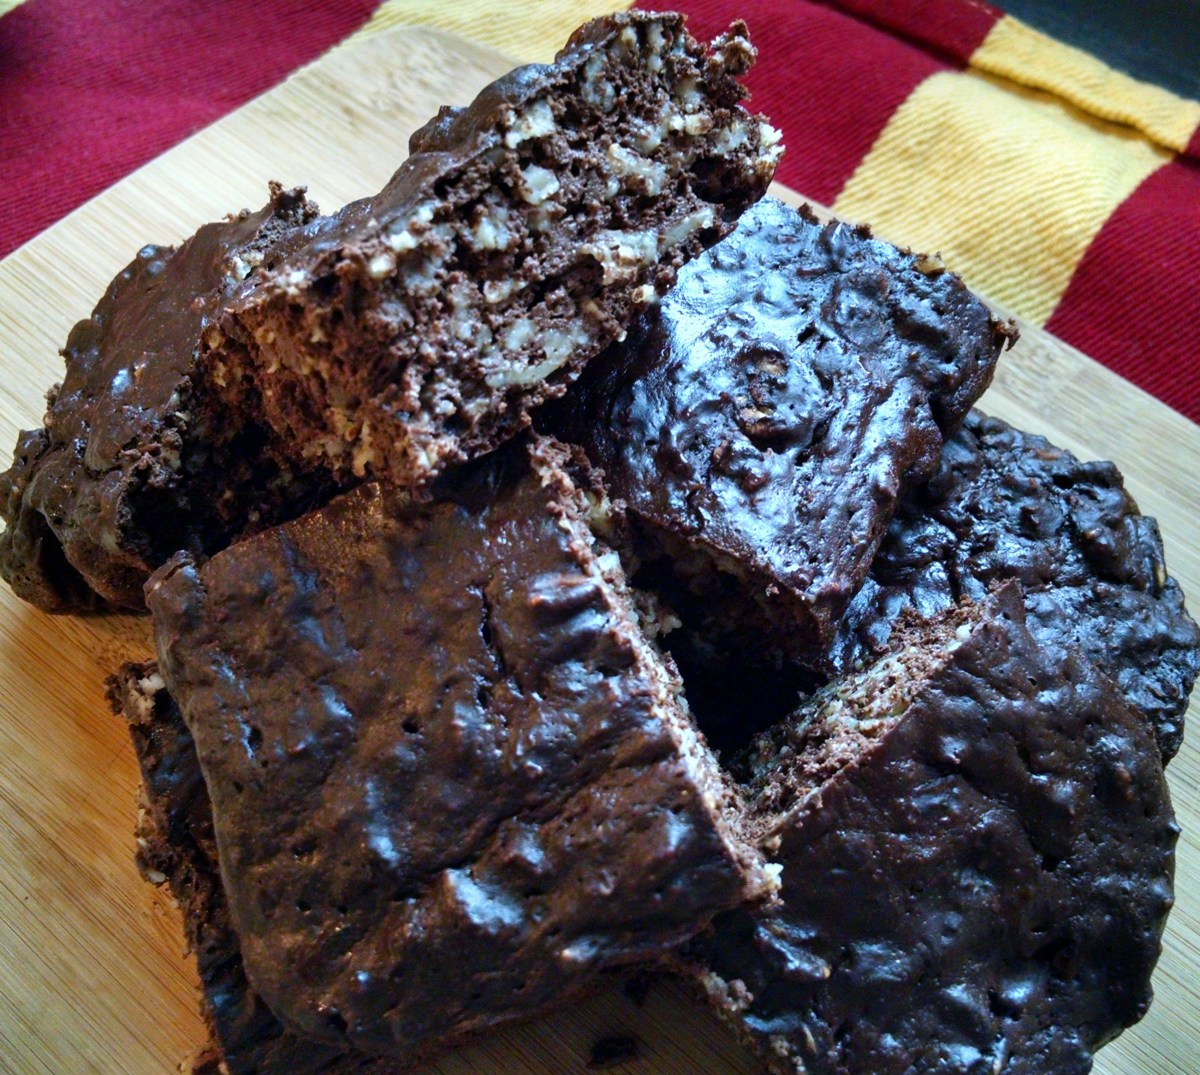
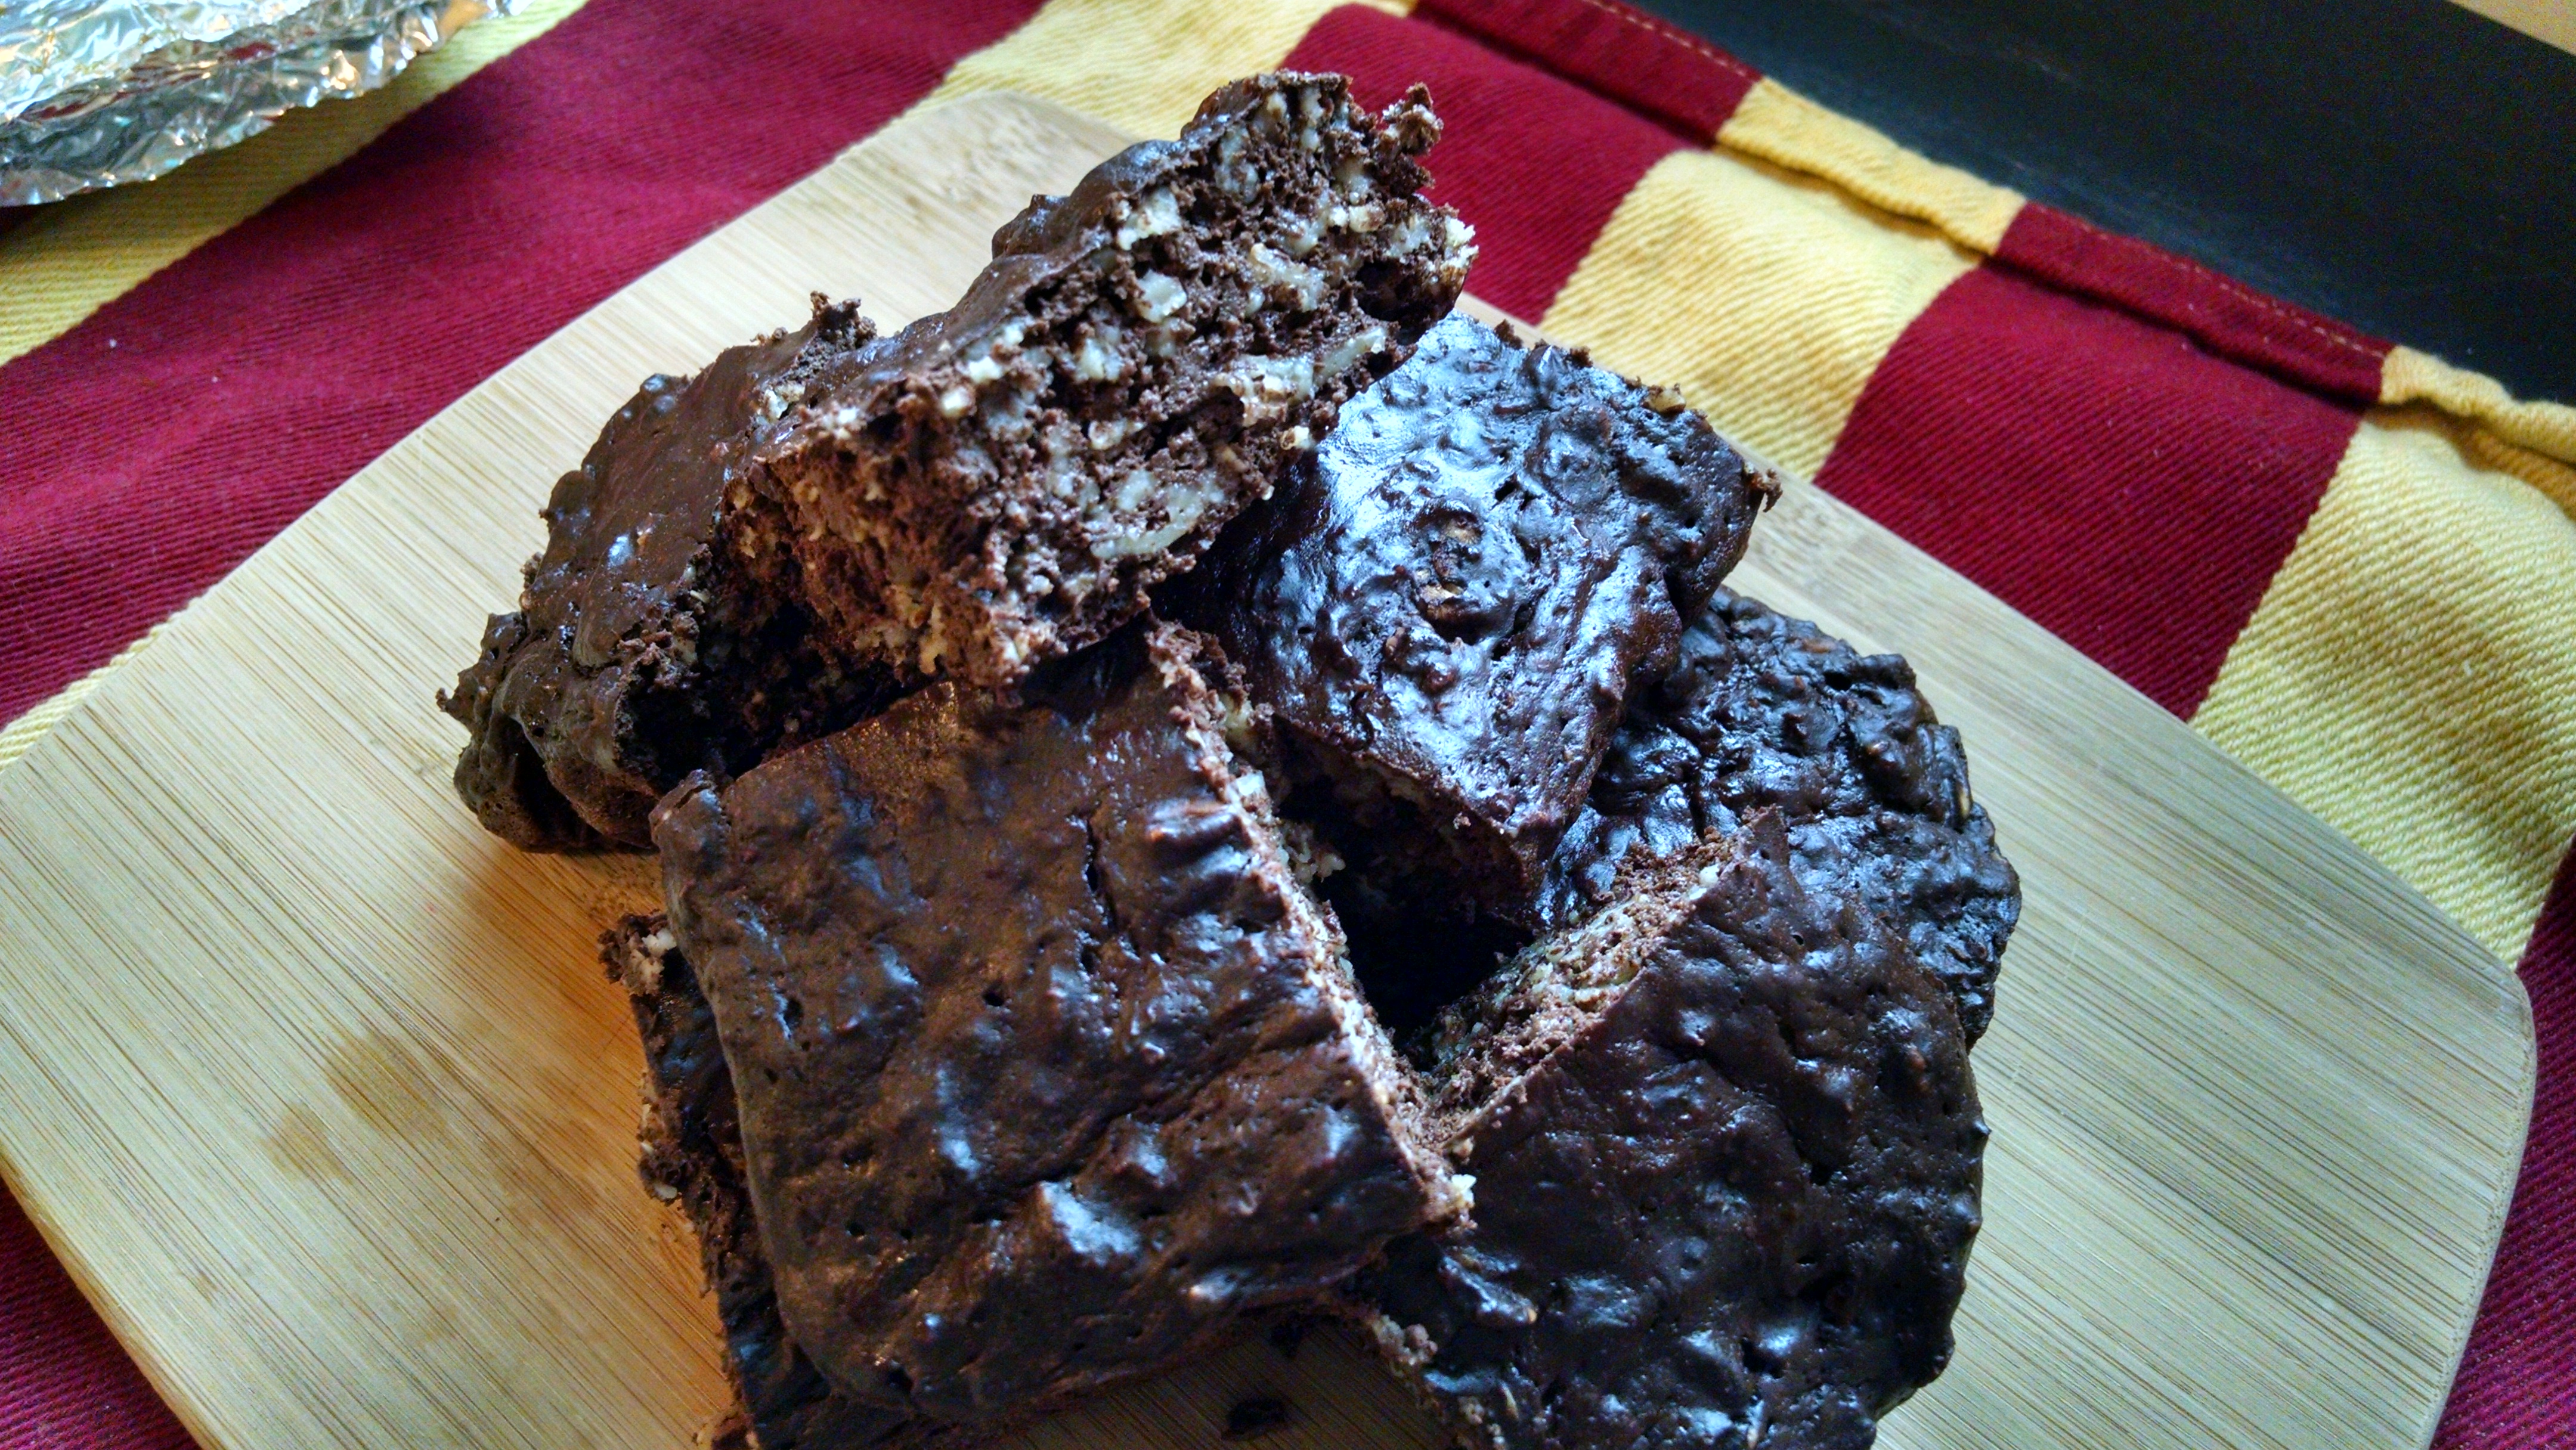
These taste JUST like strawberry cheesecake covered in dark chocolate! Yum! And they’re pretty good on the nutrition, too:

  • Calories: 168.7
  • Total Fat: 9.5 g
  • Cholesterol: 0.6 mg
  • Sodium: 47.7 mg
  • Total Carbs: 15.7 g
  • Dietary Fiber: 3.4 g
  • Protein: 7.8 g

I would definitely make these again!

Have you ever made protein bars at home? How did they turn out?

Skillet Pretzel Rolls: Chewy, Salty Goodness

It’s 7:58 am and I’ve already eaten a pretzel roll. I’ve lived in the Philly suburbs pretty much my entire life, and there are few things I love more than a really good soft pretzel: they’re cheap, chewy on the outside, soft and moist on the inside, and intensely savory. A recent conversation revealed that all of my trigger foods being with the letter P: pretzels, pizza and peanut butter. I’ve got good control of the peanut butter (I eat it every day but I weigh out one serving), good pizza is rare because we don’t spend the money for takeout very often, but soft pretzels around here are cheap and plentiful. Lately I’ve been indulging more than normal because if there’s a gathering of people around here, there’s a pretzel tray. Plus, pretzel buns are super trendy right now! You can get a burger on a pretzel bun at Wendy’s for goodness’ sake.

http://media-cache-ak0.pinimg.com/236x/87/8b/22/878b22e163a10bdecece05f72bd40c69.jpg

You can probably guess at how this idea came to be: Pinterest. There it was: this image of perfect little pretzel nuggets surrounding a molten pool of cheesy dip in a cast-iron skillet. How could I resist a recipe involving both pretzels AND a cast-iron skillet, my new favorite kitchen toy?! I couldn’t, obviously. I could, however, pass up molten cheese dip. I can justify eating pretzel rolls but not as a snack dipped in cheese, it had to be something marginally more healthy: chicken BLTs! But before I could get to that, I had to start the rolls!

So what makes a pretzel roll different than a standard roll? You boil the risen dough in a baking soda solution before baking. (Note: commercial soft pretzels are often boiled in a lye solution, but lye is too dangerous for use by most home cooks, so baking soda is substituted.) But before you boil the dough, you need to MAKE the dough! If you’ve made bread before, you know it takes quite a while for the rising process, so start this recipe early. I started this recipe at 8 am.

IMG_20150420_165452904_HDR

Skillet Pretzel Rolls

  • 1 1/2 cups warm water
  • 2 1/4 tsp. active dry or instant yeast
  • 2 tsp. sugar
  • 4 – 4 1/2 cups unbleached all-purpose flour
  • 1 1/2 tsp. Kosher salt (less if using fine salt or salted butter)
  • 4 Tbsp. unsalted Butter, melted and slightly cooled
  • 1/4 cup baking soda (for boiling rolls)
  • 1 whole egg, lightly beaten (for brushing rolls before baking)
  • Pretzel, Course or Kosher Salt (for sprinkling before baking, I used Maldon flaked seas salt because I had it on hand)

1) In a large bowl or the bowl of your stand mixer fitted with the dough hook attachment, add the water, yeast, salt and sugar. Stir and let rest 5-10 minutes until foamy.

2) Add the melted butter and 3 cups of the flour. Mix using the dough hook or a spoon until combined well. Add additional flour in 1/4 increments until you have a smooth dough that is moist but not sticky. Remove dough to a greased bowl. Cover with a plastic wrap and allow to rise in a warm place for 1 hour or until doubled in bulk (I set mine in the fridge for 4 hours, then set it on top of the stove for 2 hours, since I had the time).

3) Line 1 large sheet pan with parchment paper and set aside. Spray or grease an 8 or 10-inch cast-iron skillet and set aside.

4) Gently deflate the dough and turn it out onto a lightly floured surface. Using a bench scraper or sharp knife, cut the dough into 8 equal pieces. To shape the rolls, take a piece of dough and start forming a round, smooth ball by pulling the sides towards the center and pinching to seal. Place, pinched side down, onto parchment lined baking sheet. Continue until all of your rolls are shaped. Cover and let rest for 15-20 minutes.

5) Preheat oven to 425° F. and place oven rack in the middle position. In a large stock pot or Dutch oven, bring 2 quarts of water to a boil. Slowly add the baking soda (*slowly, as it will bubble up a lot!). Place 2-3 of the rolls at a time into the water, seam side down. Boil for 1 minute and then carefully turn the roll over and boil for another minute. Remove with a slotted spoon to the same prepared baking sheet, seam side down. Repeat with the remaining rolls.
6) Once all rolls are boiled, arrange in a ring in your greased cast-iron skillet, pushing them together so you fit all the rolls into a 10-inch skillet. Using a pastry brush, brush each roll with the beaten egg, making sure to coat all sides completely and then sprinkle each roll with a little pretzel or coarse.salt. Using a sharp knife, cut a slash in the top of each roll.
7) Bake the rolls in the preheated oven for 30-40 minutes or until very golden and they sound hollow when tapped.

So! You’ve successfully made delicious pretzel rolls, but NOW WHAT???

*grin*

MMmmm.
MMmmm.

We topped ours with baked sliced chicken breast, crispy bacon, romaine lettuce, thick slices of heirloom tomato and olive oil light mayo, and served cucumber “chips” on the side. So yum!

So what do you think? Do you love soft pretzels enough to try to make these on your own? Let me know in the comments!

37 Calorie Brownies – Fantastic or Failure?

Whether you’re looking to lose weight or maintain, if you enjoy dessert you’ve probably looked for low-calorie recipes for your favorite foods. I certainly have. Pinterest, my frenemy in the realm of recipe sourcing, showcased a recipe for 37 calorie brownies. Seriously. A skeptic at heart, I pinned it, hoping to try it in the future. Why didn’t I try it immediately, you ask? Well, the recipe calls for granulated stevia. I don’t have anything against artificial sweeteners for the most part. I use “blue stuff” in my coffee in the morning, but I don’t bake with it, partially because I don’t feel like spending the money on it, partially because I don’t bake sweets at home very often, but mostly because baking with artificial sweetener never turns out to be as satisfying as baking with real sugar. The old adage is “if it’s too good to be true, it probably is”. However, in the interest of my own home-brewed brand of food science, and for you, dear readers, (okay okay I really wanted brownies, too) I decided I would go ahead and give them a shot.

I purchased granulated sucralose instead of stevia, because I’ve personally had a reaction to stevia in the past. Nothing crazy, it just caused some digestive issues. The only other recipe deviations I made was to bake it in a loaf pan, and to just stir it in a bowl instead of using a blender or food processor, because I was being LAZY. I had already had to clean my stand mixer from another recipe, and I didn’t want to bother with cleaning the food processor, too. So I stirred together the wet ingredients and then added the dry. I poured it into the loaf pan, which was lined with foil and sprayed with cooking spray, and baked it for 20 minutes. I allowed it to cool and cut it into 8 pieces, so it should have been slightly more than 37 calories. For some reason, my calculator says it was 56 calories. Still not bad.

But how do they TASTE? I recruited The Hubs to help me taste them. Well, they are neither fantastic nor a failure. The texture was not brownie-like: you could definitely feel the oats (and see them if you look closely at the photos). The flavor was okay, but not intensely chocolaty like I prefer my brownies. The Hubs liked them fine. I think I will try them again (I mean, I have to do something with that giant bag of granulated sucralose *rolls eyes*) but blend them like the original recipe suggests. I think this will help the texture. The original recipe also suggested adding chocolate chips to the recipe, which I think I’ll try also.

In summary, I will try this recipe again, with some tweaks. My recipe calculated out to 56 calories apiece, so you could eat TWO of these for just over 100 calories. Not bad, really. Not perfect, but good. Would I serve these to company? Heck no! But I will try them again.

IMG_20150420_154120631_HDR

56 Calorie Brownies

  • ¾ cup nonfat greek yogurt
  • ¼ cup skim milk
  • ½ cup Cocoa powder
  • ½ cup Old fashioned rolled oats
  • ½ cup Splenda for baking
  • 1 egg
  • 1 teaspoon baking powder
  • 1 pinch salt

Directions:

Preheat the oven to 400°F.

Line a loaf pan with foil and spray with cooking spray.

In a medium sized bowl, stir together all of the ingredients. Pour into the prepared dish and bake for about 20 minutes.

Allow to cool completely before cutting into 8 squares.