

Oh, Autumn. You big lug. Making it dark when I get up in the morning and making it difficult for me to take good photographs of my food. I’m not sure what I like less about the cooler months, the cold or the dark. Okay, I’m sure it’s the dark. Darkness sucks. I’ve been noticed how around 5:30 the light is beginning to fade already and by the time I’ve finished cooking dinner I can no longer use the natural light from my window to take good photographs. It makes me mad!
So I’m taking this opportunity to build myself a light box. I already had most of the stuff I needed lying around taking up space, so I found a tutorial and got crackin’! I apologize for the lousy quality of the photos due to it still being DARK at 6:30 in the morning. *pouts* I found this tutorial on Pinterest, and figured I’d give it a shot!


Materials
- Large cardboard box
- White paper (I got a roll of poster paper)
- Translucent white paper (I’m using either tracing paper or vellum leftover from my architecture school days)
- Tape (I used Scotch tape, but masking tape works, too)
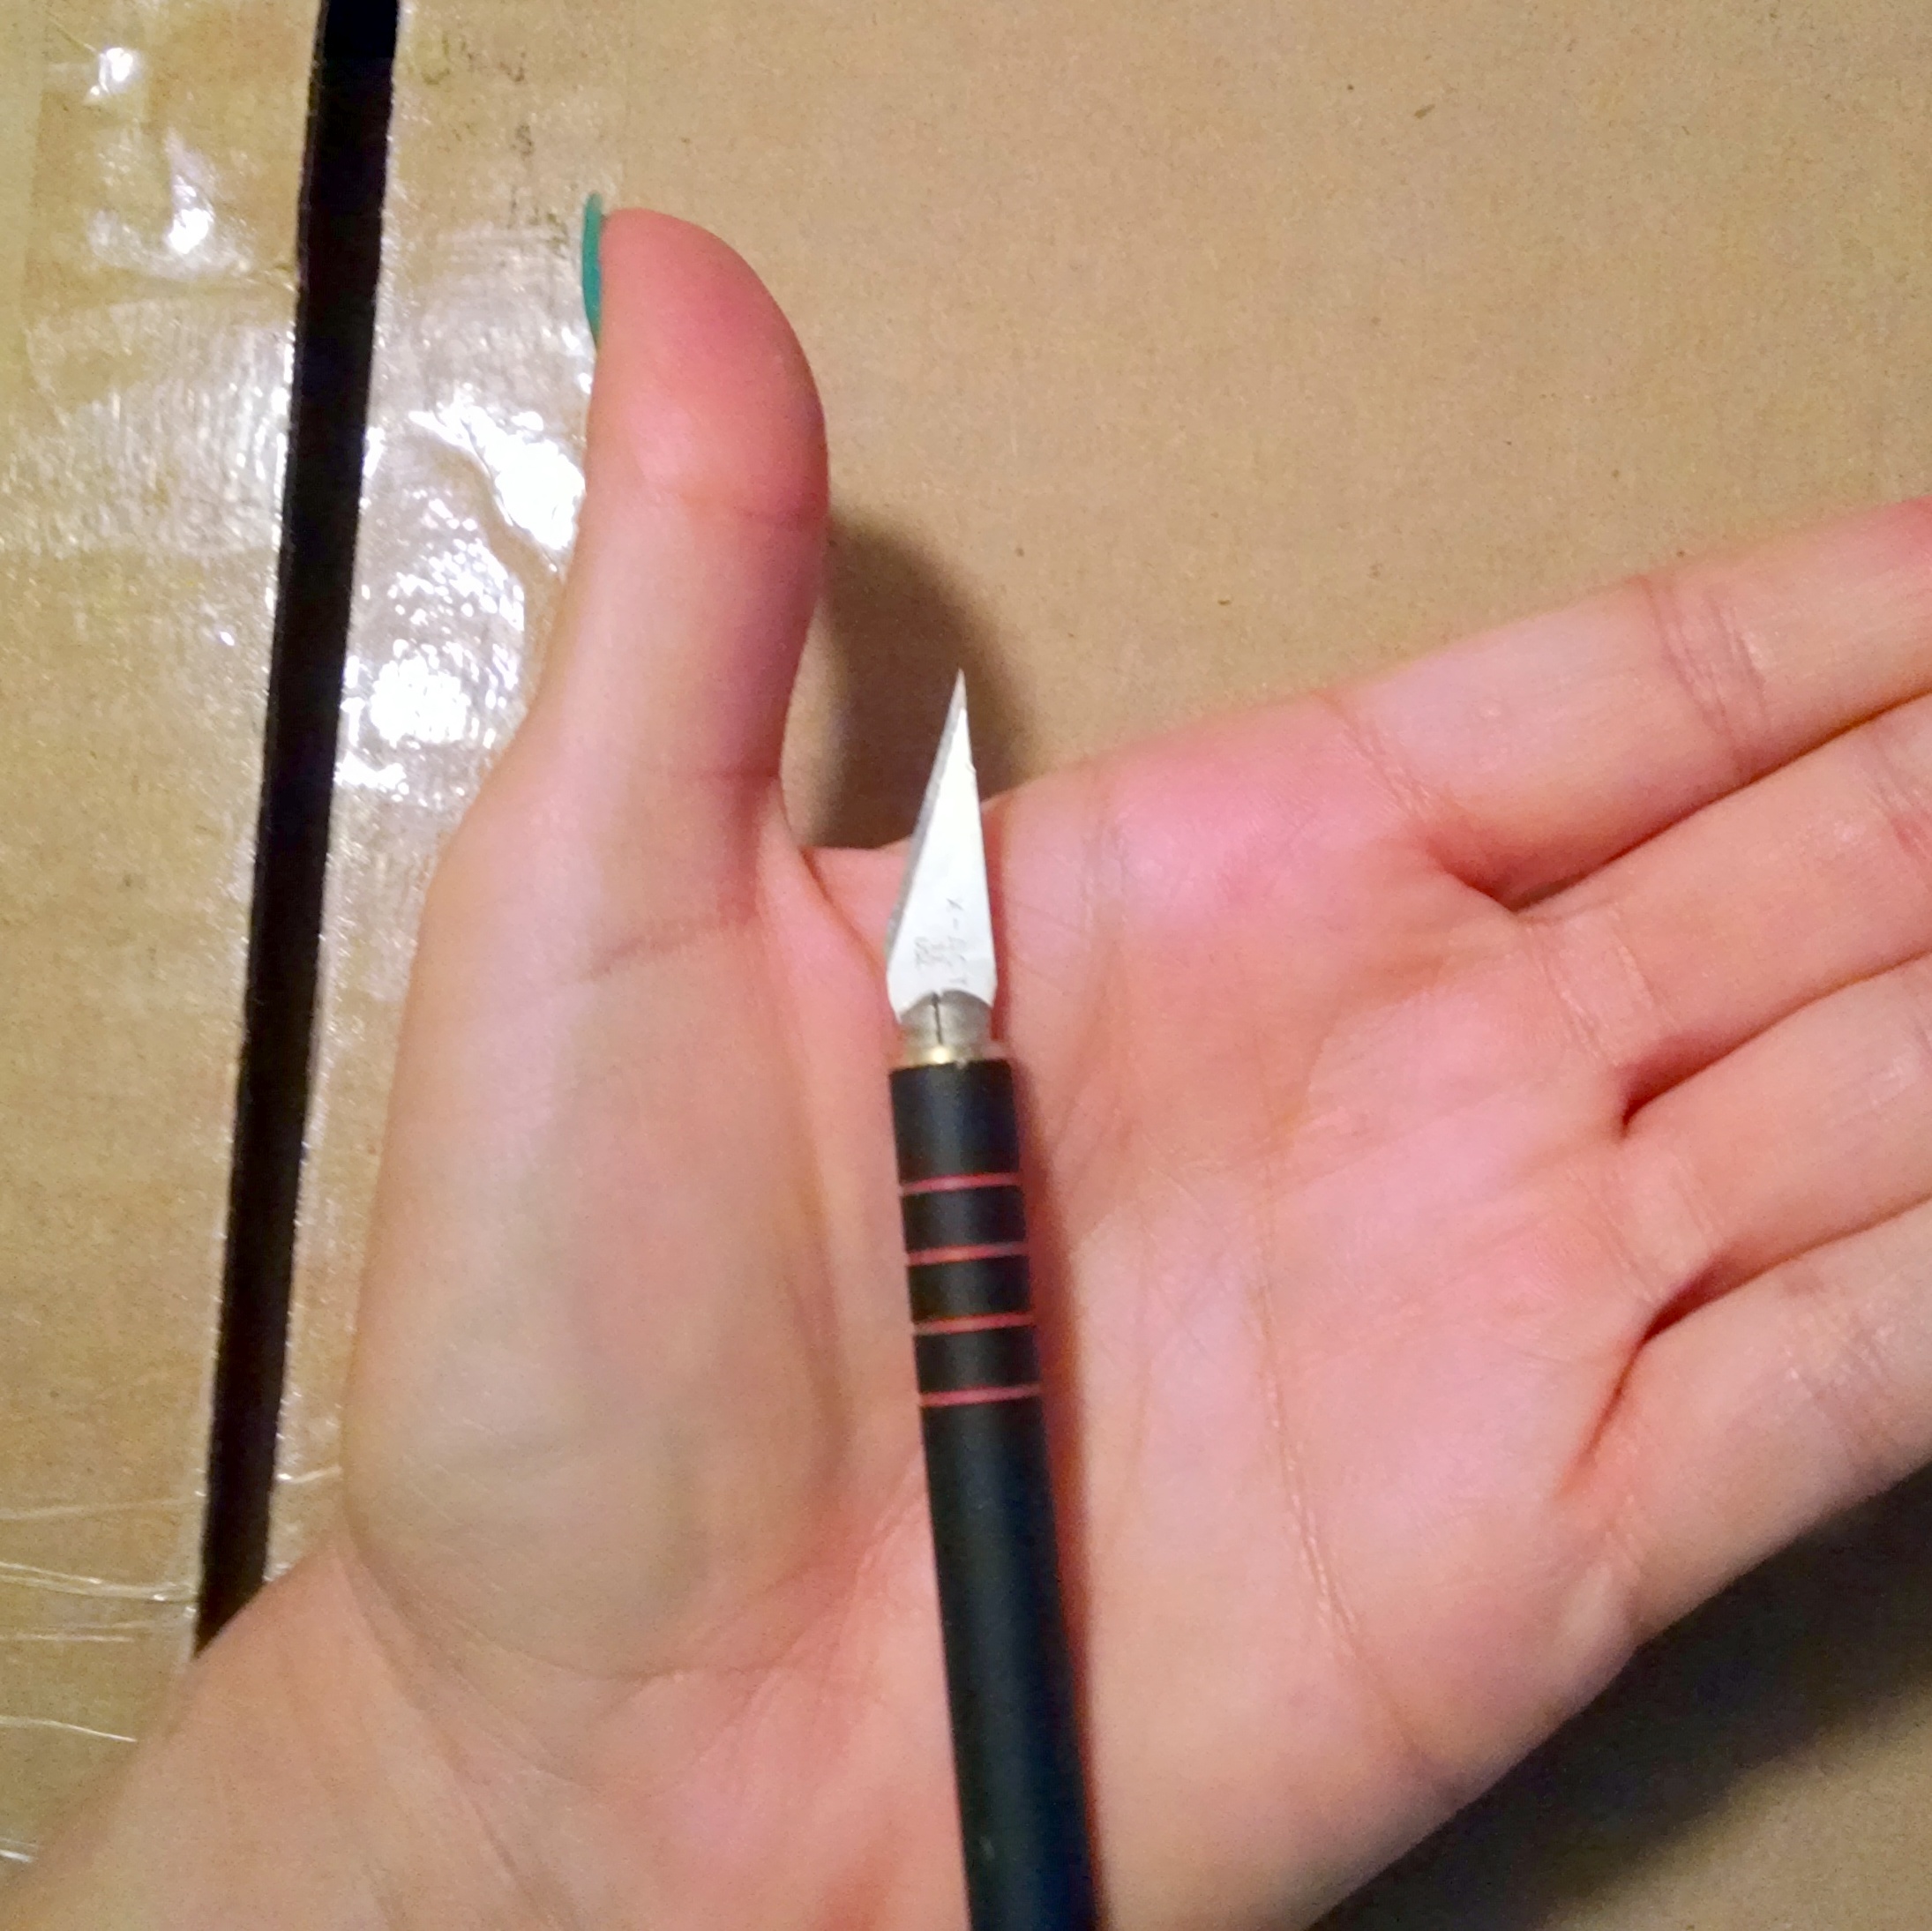
- An x-Acto Knife with a fresh blade
- A movable light with a white light LED bulb
- A marking pen (not shown)
- A ruler
The only thing I had to purchase was the white poster paper and the light bulb, grand total: less than $8. Not bad!
!!!!!!!!!!!!!!!!!!!!SAFETY DISCLAIMER!!!!!!!!!!!!!!!!!!!
X-Acto blades/knives are DANGEROUS!!1!!!eleventy!!!one!!! Please use them with CAUTION! During my years in architecture school I used one of these things daily and I have had my experience with finding one of these extremely sharp blades in a part of the body where it doesn’t belong, such as embedded deeply in the pad of my big toe or in the fleshy bit of your hand between the thumb and index finger (right about where the point of the blade is in this photo). Trust me, YOU DO NOT WANT THIS EXPERIENCE. It is NOT FUN. So please, please, PLEASE be careful. Thank you. Now, onto the light box!
!!!!!!!!!!!!!!!!!!!!END SAFETY DISCLAIMER!!!!!!!!!!!!!!!!!!!
Step 1 – Cut the flaps off the box. The part of the box that is open right now will be face down on the table or surface, and is now the bottom of the light box.


Step 2 – Draw a 45 degree angle on the back corner of the box and cut it out. At this point you may need to tape down some flaps!


Step 3 – Draw the opening onto the front part of your box (the part where you will be holding your camera, or in my case, my cell phone) and cut it out.


You can see in the final photo that the opening in the front is where you’ll insert the food and the camera, and the opening in the back will be where the light will shine in once it’s covered in the translucent paper.
Stay tuned for the second half of this project!

Oh I so do love people who can DO things . . . . . figure out what to do to solve the problem . . . . . not give up
when there is a blockage. People like that go forward and in the process take us with them. (Even if we
cannot build things like light boxes ourselves.) It’s called hope. And it’s contagious. Thank you for spreading
the hope and the light! (Pun intended.) There are all kinds of dark days and times and it’s good to be reminded there is a light at the end of whatever tunnel we are in at the moment.
LikeLike
Very interesting! That’s an awesome idea and solution!
LikeLike
Eleventy one, lol………you crazy kid! lol…….You are amazing and never fail to inspire me!
LikeLiked by 1 person